How to Create a Journal in Canva For Amazon KDP!
Welcome to my blog! I am Subha Malik and in this blog post, I will show you How to Create a Journal in Canva to publish on amazon kindle direct publishing!
Lined Journals are one of the quickest no-content books that you can create and upload to Amazon KDP to make some sales. I have published a lot of journals myself during the last 4 years and some of them sell well.
Actually, I have already written a detailed blog post in which I have talked about what kind of journals still sell on Amazon. You can check it out here; CAN YOU MAKE MONEY SELLING JOURNALS ON AMAZON IN 2023.
Anyway, in this post, I am going to share with you how to create a lined journal in Canva in under ten minutes. So, don’t skip and read this post till the very end!
How to Create a Journal in Canva for KDP!
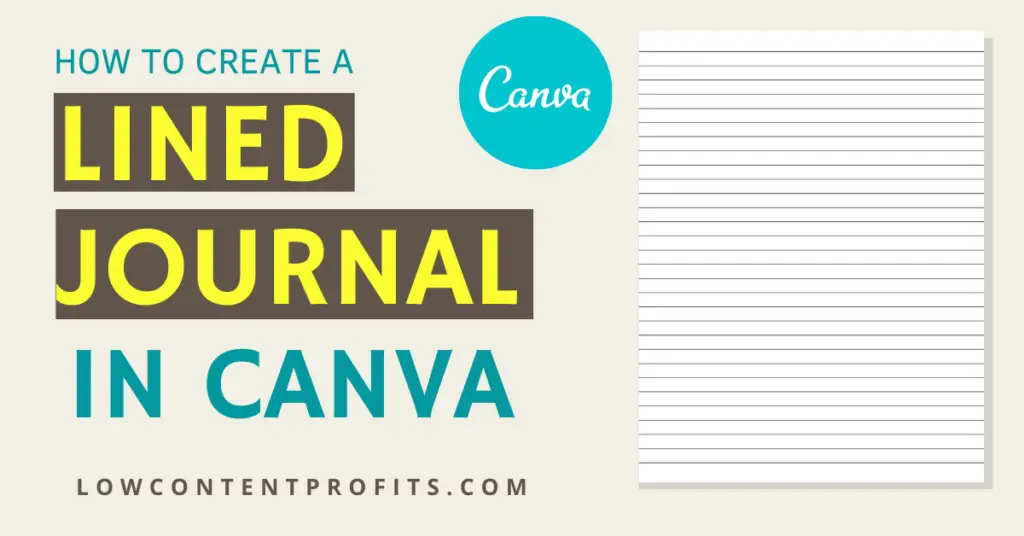
Below I will walk you through the step-by-step process of creating a simple lined journal in Canva to publish on kindle direct publishing.
Step 1 – Deciding On the Trim Size
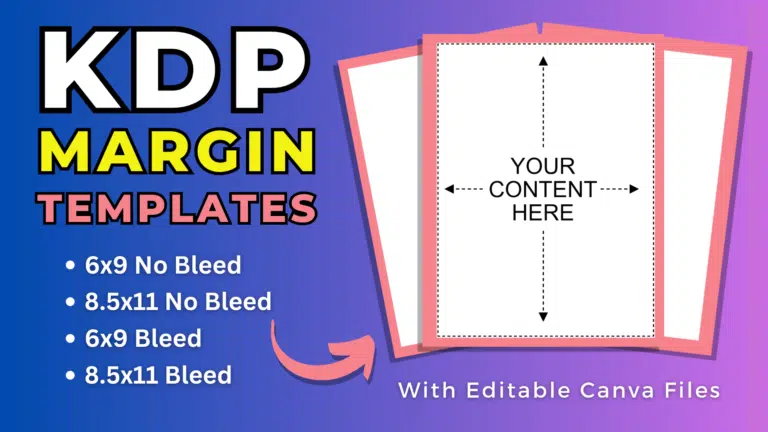
First things first, to make a journal on Canva you need to decide on the trim size of your journal. For instance, you can create a 6×9 inch journal or an 8.5×11 inch journal. Secondly, you need to have an idea of bleed vs no bleed!
To put it in simple words, if you want to create an 8.5×11 inch journal in which the lines are extending towards the edges then you should select a trim size with bleed. In this post, I will be creating an 8.5×11 inch journal with bleed. To do that, I will have to add bleed to the height and width of my template.
You can check out the different trim sizes at KDP here: Set Trim Size, Bleed, and Margins
So, the dimension for my journal with bleed would be as follows;
Width: 8.5″ + 0.125″ = 8.625″
Height: 11″ + 0.25 = 11.25
Step 2 – Creating Custome Size Document In Canva
Now that I have the right dimensions for my journal, I can go to Canva and create a new document of 8.625″ x 11.25″. To do that you need to click on Create a Design and select the Custome size option!
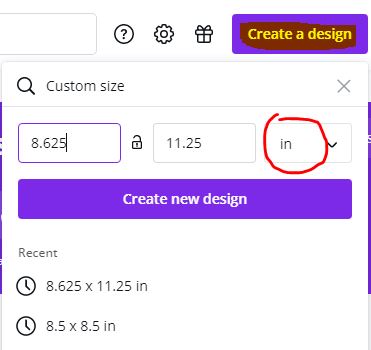
Note: You need to change the size option from px to in (from pixels to inches).
Next, enter your dimensions as shown above and press on Create New Design. By doing so, you will have a bank document of 8.625 x 11.25 inches. You can also rename it so that you can refer back to it later on!
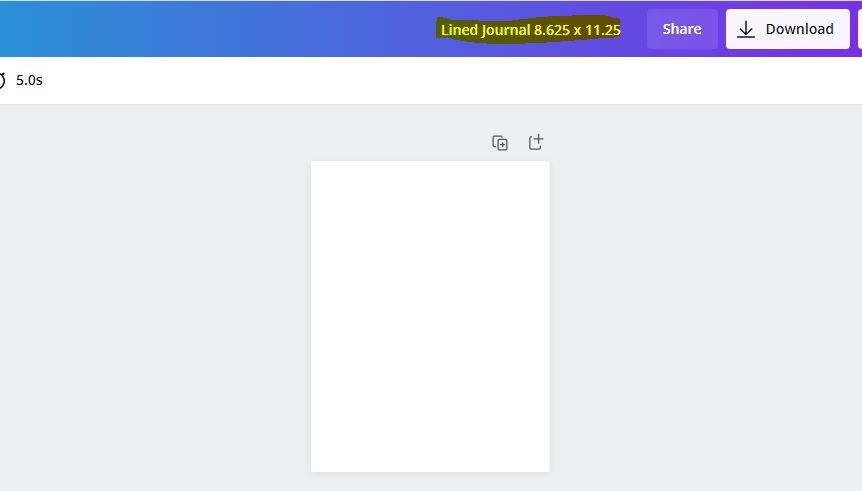
Step 3 – Design a Journal Page In Canva
Next, press the L key from your keyboard to add a line on the blank document. Once the line is added, select the line and a new menu will appear towards the top that you can use to change the line color, thickness, and style.
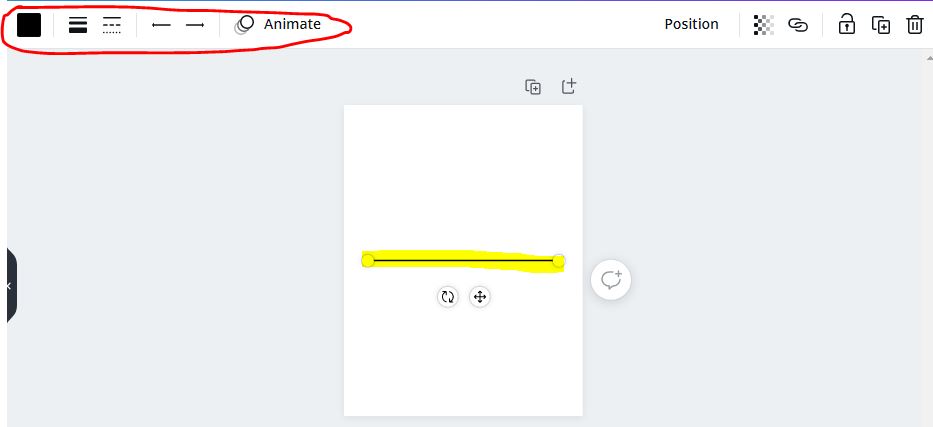
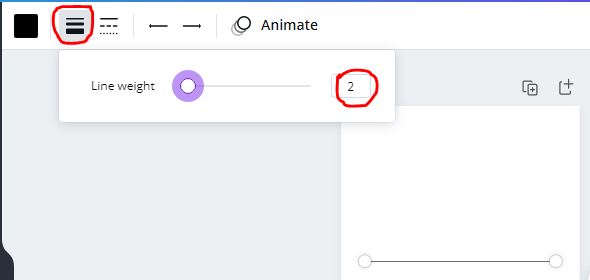
Now click on the line weight button from the top menu and change the weight value to 2. It will make the line thinner which looks good when printed. You can also set the line weight to 1 if you want the lines to be even thinner. I am sticking with 2 at the moment!
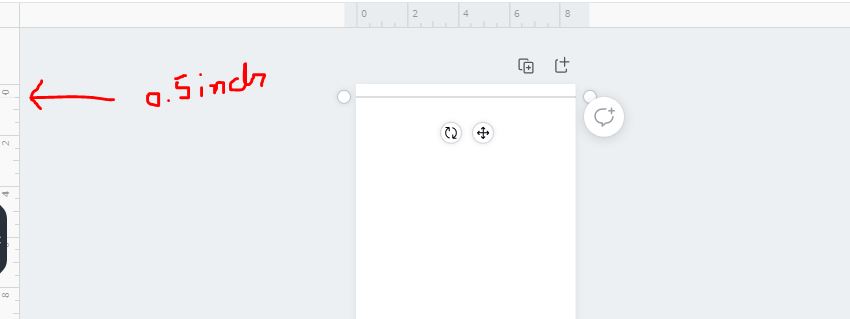
Once you are satisfied with the look and feel of the line, you can extend it towards the edges by dragging it from the control handles. Next, move the line towards the top, leaving a top margin of approximately 0.5 inches. You can enable the ruler from the file menu to see the exact measurements.
..........
My Recommended KDP Masterclass 2025
KDP Masterclass By Self Publishing Titans: Get 40% Off For Next 4 Days!
..........
Next, select the line and drag it while holding the ALT key from your keyboard or you can press Ctrl+D to duplicate the line. Now, move the second line while noticing the line-to-line distance as shown by Canva. For the sake of this blog post, I will be creating a wide-ruled paper journal and leaving the line-to-line distance at 0.34 inches.
In case you don’t know already, the line-to-line spacing for a wide-ruled paper is 11/32 inch which is approximately 0.34 inch. And for a college-ruled paper, the line-to-line spacing is 9/32 inch or 0.28 inch.
So, just move the 2nd line and leave it at 0.34 inches from the first line. Next, select the 2nd line duplicate it, and move the 3rd line, and place it at 0.34 inch from the 2nd line. Repeat the same process and create 5 to 6 lines with a line-to-line distance of 0.34 inches.
Next, select all the lines and press Ctrl+G from the keyboard to group them together.
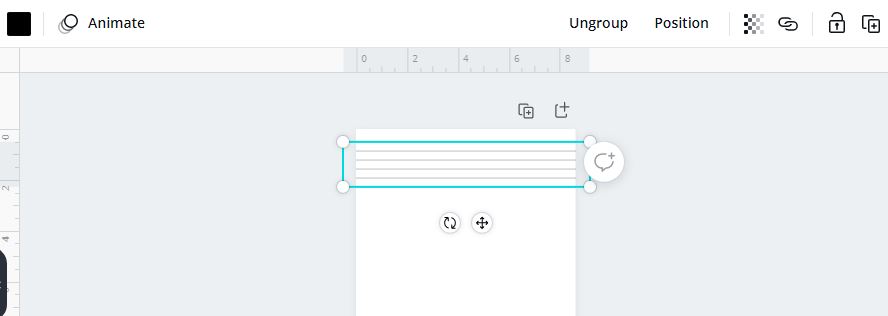
Now duplicate this group and move the 2nd group and place it in a way that the first line of the 2nd group is at 0.34 inch from the last line of the first group. The idea is to place all lines at the same distance!
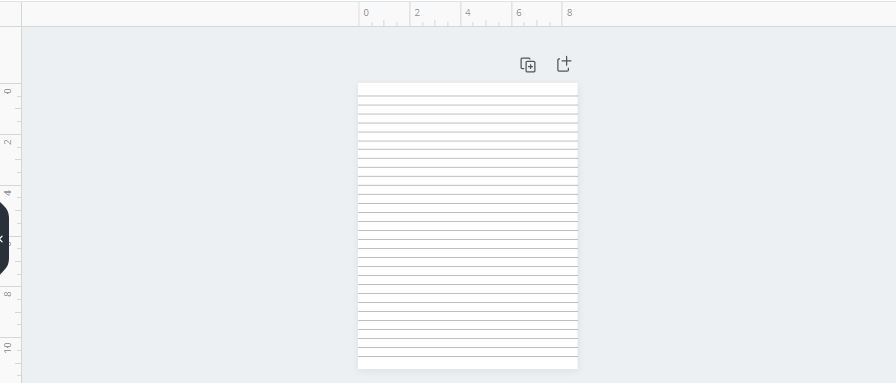
Next, repeat the process from the 2nd group: duplicate it to create a third group and then duplicate the 3rd group to create the 4th group and do this until the page is full of lines as shown below.
Step 4 – Doing Final Touches & Creating 100 Page Journal
You can do some final touches like making sure the line-to-line distance is the same, line thickness is proper and line color is as to your liking. To do that, just select all the groups of lines and click on the ungroup button from the top menu.
Next, select all the lines (Ctrl+A) and select the Position option. On the next popup window look for Space evenly and press the Vertically option. This will place all the lines at the same line-to-line distance.
Once you are satisfied with everything, you can duplicate the page by press the duplicate button (+sign). And you can create 100 pages by simply pressing the duplicate button 99 times.
Finally, click on the download button towards the top right and select the PDF Print option, select all pages and hit the download button.
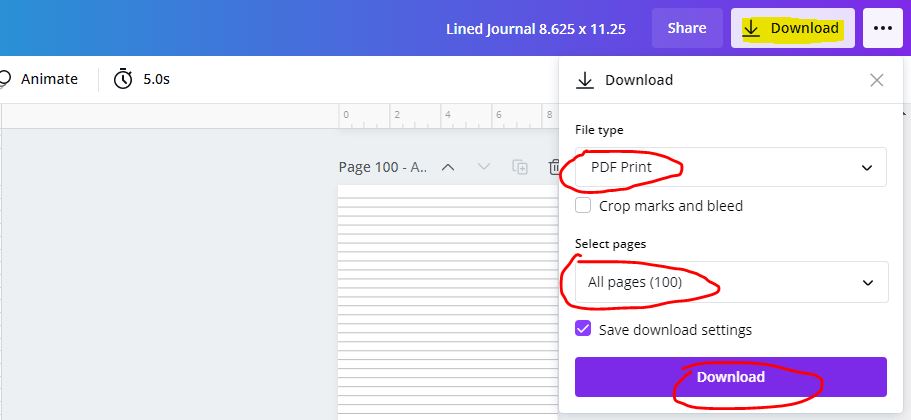
That’s it! now you have an upload/print-ready journal that you either sell as a printable or upload to Amazon KDP as a paperback book.
By the way, you can access the journal I have created while writing this blog post. Just get from the link below and use it as a template.
Final Thoughts!
As you read, in this post I have walked you through the step-by-step process of How to Create a Journal in Canva.
What Next?
❤ Subscribe To My YouTube Channel To Learn More About Low Content Books:
https://www.youtube.com/channel/UCHTJzdE7bzvL8cU0ES6X7mw?sub_confirmation=1
❤ Check out my resource page for tools and resources I personally use to scale my Low Content Publishing Business.
❤ Share this post on your favorite social media site. Thanks!
Subha Malik

